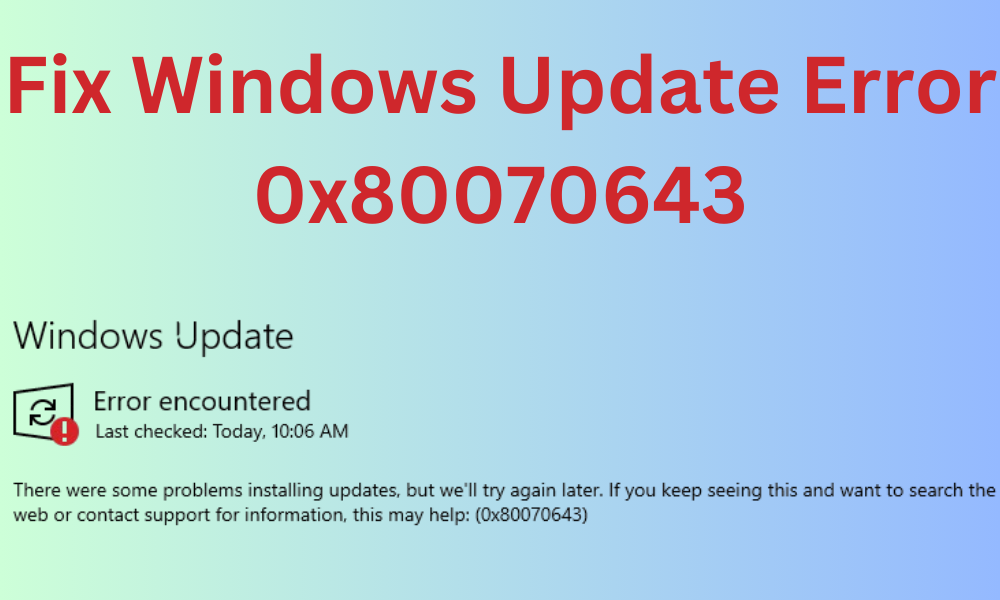
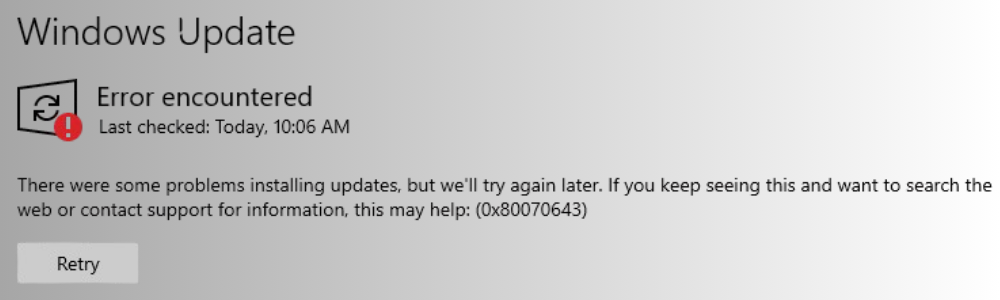
Windows updates play a crucial role in maintaining the security, efficiency, and current status of your operating system. However, running into errors such as Windows update error 0x80070643 during the update process can be quite frustrating. This particular error often hinders the successful installation of updates, which can leave your system exposed or not fully updated. In this blog post, we will delve into the reasons behind this issue, offer practical solutions to resolve Windows Update error 0x80070643, and address common questions related to this problem.
Why Does Windows Update Error 0x80070643 Happen?
The error code 0x80070643 usually means there was a problem during the installation of a Windows update. Here are some common reasons for this issue:
- Corrupted System Files: Important Windows system files needed for the update might be damaged or missing.
- Incomplete or Failed Previous Updates: If a previous update failed, it can leave your system in an unstable state, causing this error in future updates.
- Antivirus Interference: Sometimes, overly aggressive antivirus software can block the update process, resulting in errors.
- Issues with the .NET Framework: Updates related to the .NET Framework can trigger this error if the framework is corrupted or outdated.
- Windows Installer Issues: Problems with the Windows Installer service can also lead to this error.
By understanding these potential causes, you can troubleshoot and resolve Windows Update error 0x80070643 more effectively.
How to Fix Windows Update Error 0x80070643
Here are some methods to help you resolve this issue:
1. Restart Your Computer and Try Again
A simple restart can often fix the error. Restarting your computer clears any temporary glitches or locked files, giving the update process a fresh start.
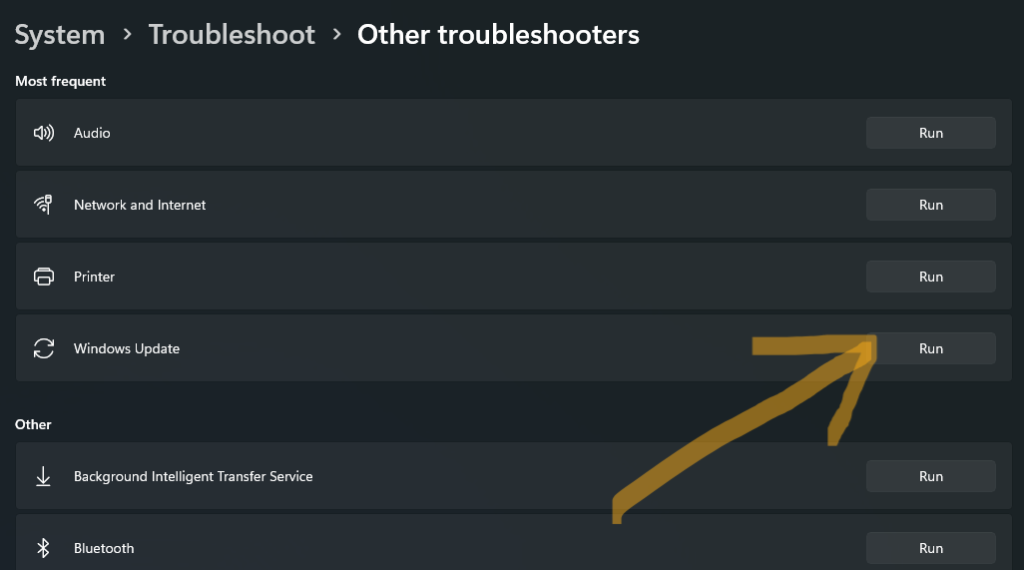
2. Run the Windows Update Troubleshooter
Microsoft offers a built-in tool designed to identify and resolve update problems.
Here’s how to use it:
- Press Windows + I to open Settings.
- Go to System > Troubleshoot > Other troubleshooters.
- Locate Windows Update and click on Run.
- Follow the prompts on the screen and allow the troubleshooter to try to fix the issue
3. Check and Repair Corrupted System Files
Corrupted system files often lead to update errors. You can use the System File Checker (SFC) and Deployment Image Servicing and Management (DISM) tools to fix these issues.
Steps:
- Open Command Prompt with administrative privileges.
- Execute the following commands one at a time:
sfc /scannow
DISM /Online /Cleanup-Image /RestoreHealth

After completion, close the cmd window then, restart your computer and try the update again.
4. Manually Install the Update
If the issue continues, you can download and install the update manually from the Microsoft Update Catalog.
Steps:
1. Visit the Microsoft Update Catalog.
2. Search for the specific KB number of the update that failed.
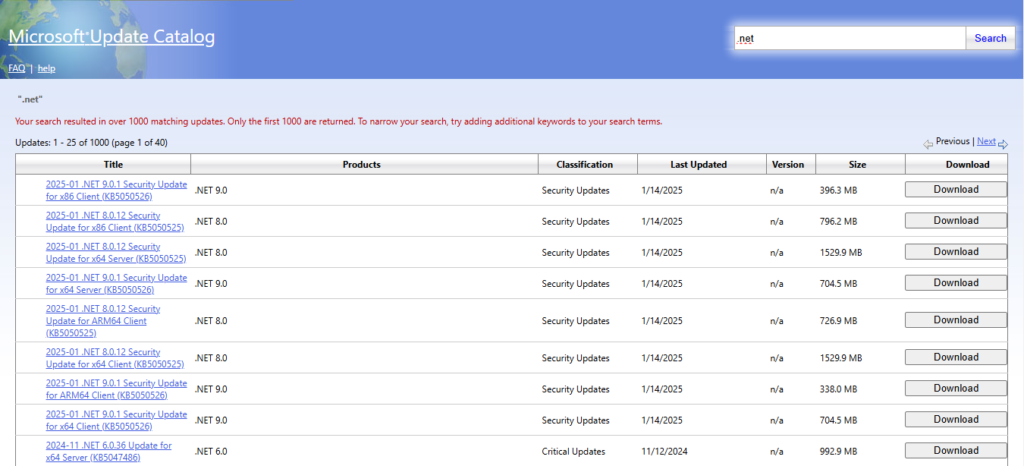
3. Download the correct version for your system (32-bit or 64-bit).
4. Run the downloaded file to install the update manually.
5. Repair or Reinstall the .NET Framework
If the error involves the .NET Framework, repairing or reinstalling it may resolve the issue.
Steps:
- Open Control Panel and go to Programs > Programs and Features.
2. Locate Microsoft .NET Framework, select it, and click Repair (if available).
3. If repair doesn’t work, download the latest version of the .NET Framework from Microsoft’s official site and reinstall it.
6. Disable Third-Party Antivirus Software
Your antivirus software might be causing issues with the update process. Try temporarily disabling it and then attempt the update again.
Steps:
- Right-click the antivirus icon in your system tray.
- Choose Disable or Turn off protection.
- Remember to re-enable it once the update has been completed successfully.
7. Restart the Windows Installer Service
If the Windows Installer service is not working properly, updates may fail.
Steps:
- Press Windows + R to open the Run dialog.
2. Type services.msc and press Enter.
3. Find Windows Installer in the list.
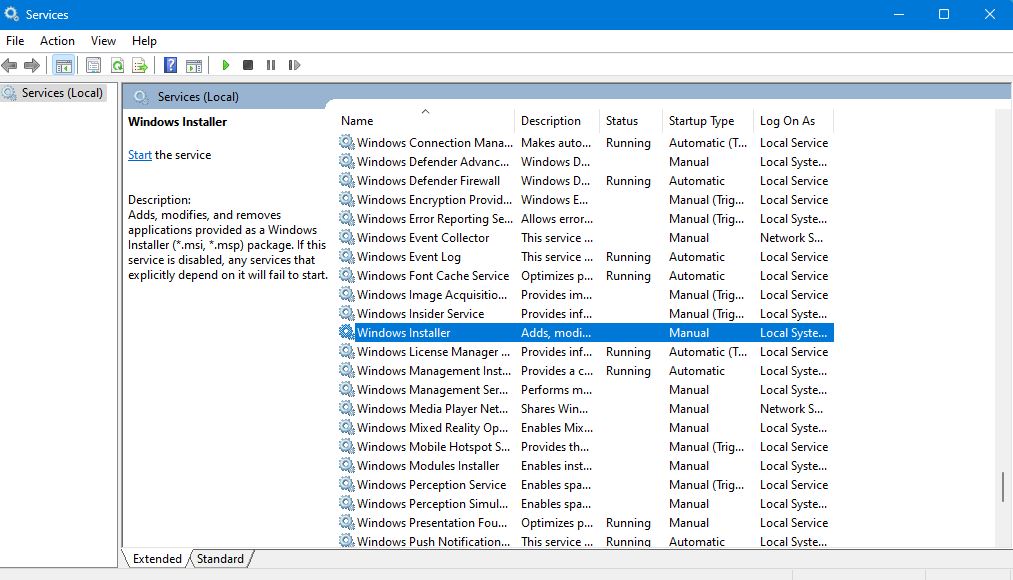
4. Right-click it and select Restart.
8. Clear the SoftwareDistribution Folder
This folder stores temporary update files, which can become corrupted and cause errors.
Steps:
1. Open Command Prompt as an administrator.
2. Run the following commands:
net stop wuauserv
net stop bits
3. Navigate to C:\Windows\SoftwareDistribution and delete its contents.
4. Restart the update services:
net start wuauserv
net start bits
5. Retry the update process.
Frequently Asked Questions (FAQs)
1. Can I Ignore Windows Update Error 0x80070643?
It’s not recommended to ignore Windows Update Error 0x80070643, as doing so may expose your system to security risks and bugs. Addressing this error helps keep your system secure and running smoothly.
2. What Should I Do If None of the Methods Work?
If the problem persists, consider:
- Contacting Microsoft Support for professional assistance.
- Resetting or reinstalling Windows as a last option.
3. Does Fixing Error 0x80070643 Take a Long Time?
The time required depends on the root cause. Some methods, like running troubleshooters or restarting services, are quick. Others, like repairing system files, may take longer.
4. Is Error 0x80070643 Common?
Yes, it’s a relatively common error, particularly for users dealing with cumulative updates or .NET Framework updates.
Conclusion
The Windows Update error 0x80070643 can be quite frustrating, but the methods mentioned above can help you resolve it effectively. Whether you’re repairing corrupted files, running troubleshooters, or managing services, these steps cover the issue thoroughly. By implementing these solutions, you can fix the Windows Update error 0x80070643 and keep your system updated and secure.